Reviews
introduction
Du bist jetzt stolzer Besitzer einer Bonfire. Willkommen in unserer Rider Community. Wir fühlen uns sehr geschmeichelt, dass du Black
Tea Motorbikes für deine kommenden Abenteuer gewählt hast. Es ist nun unsere Pflicht, unser Bestes zu tun, um dich mit Produktinformationen & Service zu versorgen und dir ein müheloses Erlebnis zu bieten.
Unsere Mission ist es, Abenteuer für jeden und überall zugänglich zu machen. Deshalb ist es unser Ziel, überzeugende Motorräder für jede Art von Abenteuer zu entwickeln, die dir vorschweben und erlauben jede Art von (legaler) Modifikation.
Dieses Handbuch soll dir ein Hilfsmittel und eine Anleitung für die allgemeine Wartung, Sicherheitsvorkehrungen, Serviceangelegenheiten - von dem, was du selbst erledigen kannst, bis hin zu dem, was du professionellen Mechanikern überlassen musst -, Tuning, Garantieaspekte, Handhabung und Fehlerbehebung sein.
Wir bitten dich, dieses Handbuch zu verwenden, um sicherzustellen, dass jede Fahrt eine sichere Fahrt bleibt.
safety regulations
We want you and those around you to get through everyday life safely. That's why we ask you to keep a few things in mind when you're out and about with your Bonfire.
Obey traffic laws. To minimize the risk of serious injury, always wear protective equipment including a helmet. Please always carry the following documents with you when riding your Bonfire: ID card,
Insurance papers, license plate and operating license.
You are probably looking forward to riding your bike, but please follow these steps to ensure that you do not cause damage to the vehicle or injure others. During transport, the bike may
We cannot guarantee the roadworthiness of the motorcycle if it has been on the road for several weeks.
For this reason, before your first ride, you should charge the batteries, check the tire pressure and all safety-relevant components as described in the "Regular Inspection & Maintenance" chapter.
Note : Your Bonfire has 3 driving modes (Eco, Normal and Sport). You can use Eco and Normal mode for the entire journey, while Sport mode should only be used occasionally, otherwise the batteries will get too hot and your range will drop dramatically.
Unboxing
If you receive a fully assembled motorcycle, you must
Do not install anything before your first ride (DE, AT & CH)
If you receive your Bonfire in a box on a pallet, all you have to do is unpack it and there is no assembly required.
General information
Security & Guarantee
guarantee
The standard warranty is covered by the general terms and conditions . It is void in the event of damage caused by actions that contradict these operating instructions.
use
Black Tea Motorbikes motorcycles have been homologated to the highest standards for road use by TÜV Süd in Munich. It is therefore forbidden to remove equipment or tamper with the wiring outside of an authorized service center. The Bonfire is not designed for off-road use or racing.
Drive
When you first ride the Bonfire, there are a few things to keep in mind. The bike has an electric motor with instant torque and a gearless primary drive, which means you have all the power available at all times through the throttle. It is very sensitive and it is highly recommended to ride in the first ride mode to get used to this type of vehicle.
Note : The Bonfire has an automatically folding stand . As soon as you place the Bonfire upright, the stand will fold up and you will need to hold the vehicle securely in your hands.
Important: You have two keys. You use the classic key for your storage space and to remove your batteries from the motorcycle if necessary. The remote key starts the vehicle, switches it off and activates the alarm system.
There is no clutch, instead the combined rear brake is located on the left side of the handlebars. This can feel unnatural for experienced combustion engine motorcycle riders.
Remember that electric vehicles are quiet. Be aware of people or other cyclists who may be near the lanes you use.
motorcycle overview
vehicle identification number (VIN)
The VIN/chassis number is a 17-digit number stamped on the right side of the frame above the footrest. Do not change or remove this number as it is the legal identifier for your motorcycle. You can also find the VIN on the legally required type plate.
battery serial number
The battery serial number is located on the battery. The serial number is not visible when the battery is in the motorcycle.
serial number of the engine
The engine serial number is laser engraved on the left side of the engine case and is visible. The power rating on the engine may not match the power rating of your motorcycle.
serial number of the controller
The serial number of the control unit is located on the top of the housing and is visible when one of the side covers is removed.
Nameplate
The European type plate is located on the head tube. The sticker must not be modified or removed.
Overview of the controls on the handlebars
From right to left, the following parts are located on the handlebars: throttle, driving mode switch, kill switch with starter, display, headlight and horn switches.
display overview
There are two buttons on the left. The top button is the setting button and the bottom button is the selection button.
On the display you will find the trip meter, time, odometer, speed, battery charge level in volts and 10% bars.
On the bottom bar you will find from left to right: left turn signal, ECO, NRM & SPT modes, high beam and right turn signal.
radio key overview
Your remote key has four buttons:
Top left: alarm switch
Top right: Off switch
Bottom left: search button
Bottom right: On switch
vehicle registration
Germany
- With your motorcycle you will also receive your CoC paper (EU certificate of conformity) and your invoice with the VIN.
- With the vehicle information from the CoC you can now apply for insurance. You will receive an evB number. Please make a note of this, as you will need it for registration. If your insurance company cannot find your motorcycle, you can also use the HSN and TSN.
- HSN: 2265 (manufacturer key)
- Bonfire TSN: AAB
- Wildfire TSN: AAD
- Please take both documents provided with you to the registration office: the evB number and your identity card.
- Now everything should go smoothly and you can pick up your license plate.
Austria
- With your motorcycle you will also receive your CoC paper (EU certificate of conformity) and your invoice with the VIN.
- Unfortunately, in Austria you cannot go directly to the registration office with the EU certificate of conformity to get the license plate, because you have a so-called self-imported vehicle, which must first be entered into an approval database
- You can submit the application on site (at the state testing center) or online, for which you need your CoC. The costs are on average 120 €. The online application is processed within 2 weeks, on site your application can often be processed within a few hours.
edit. - After registration, you will receive a document confirming the registration, which you must take with you to the registration office. Since you have an electric vehicle and it does not emit any CO2, you do not have to pay NOVA taxes.
- After paying the VAT you can register your vehicle
You can find more information here: https://www.oeamtc.at/thema/eigenimport/
Here you can apply for entry in the database online for Upper Austria: https://www.land-oberoesterreich.gv.at/50125.htm
Switzerland
- With your motorcycle you will receive your invoice, your CoC (EU certificate of conformity) and test report Form 13.20 A (filled out by the customs office upon import).
- Unfortunately, in Switzerland you cannot currently go directly to the registration office with the EU Certificate of Conformity (CoC) to get the license plate, because you have a so-called imported vehicle, which must be checked by the Swiss Road Traffic Office. You can find a traffic office near you here: https://asa.ch/strassenverkehrsaemter/adressen/
- You also need to get Swiss insurance for your motorcycle. Your insurance company will need your CoC and the inspection report Form 13.20 A. You will then receive proof of insurance.
- You can submit the application on site or online at some traffic offices. You will need all the documents for this: ID, CoC, invoice, inspection report Form 13.20 and proof of insurance.
- The traffic office will then check your documents. Only when all documents have been checked will you receive an appointment for the vehicle inspection.
- After successfully completing the vehicle inspection, you should receive your license plate and can finally ride your motorcycle.
France
- With your motorcycle you will also receive your invoice (including VIN information), your CoC (EU Certificate of Conformity) & the half-filled “Demande de certificate d'immatriculation d'un vehicle neuf”.
- Please fill out the “Certificate d'immatriculation” with your details under “demandeur”.
- Apply for insurance for your motorcycle and bring all 3 documents and your ID to the registration office.
- After paying the VAT you can register your vehicle
vehicle operation
Preparing your Bonfire
Make sure the battery is connected and on in the vehicle. If you remove your batteries, follow these instructions to properly install the batteries:
- Unscrew the four knurled screws on the top of the tank
- Remove the tank and place it on the seat
- Open the right door by opening both locks
- It is best to switch off both batteries so that no sparks are created when connecting them.
- First place one battery and connect it to the motorcycle and then the second battery
- Turn on both batteries.
- Close the door, put the tank back on and lock it with the thumbscrews
- Make sure any other locks in use are unlocked.
Start your bonfire
- Press the power button once to turn off the
to turn off the alarm system - Press the power button twice
- The display and lights should now be on.
- Open the side stand and sit on your bike.
- Your kill switch has a red button. Make sure that this button is not pushed in but sticking out.
- Now press the black button on your kill switch or the starter.
- If your riding mode is shown on the display, the bike is now active and you can start riding.
- To avoid injury, there is an additional safety feature. When you stop after riding, "Active" will appear on the display to remind you that the Bonfire is still on.
End your trip
- First turn off the vehicle by pressing the red button on your kill switch, your driving modes should no longer be visible
- Get off the vehicle and fold out the side stand and make sure that the Bonfire is stable.
- To turn off your motorcycle, press the power button once. The lights and display should now go out.
- If you leave the batteries in the vehicle, you can
To turn on the alarm system, press the alarm switch once - We generally recommend using an additional vehicle lock to protect the Bonfire from theft. In this case, you do not have to switch on the alarm system, but can also remove the batteries, among other things.
Important information
Brakes
Please note that unlike a regular petrol motorcycle, both the rear and front brakes are located on the handlebars and there is no foot brake. The combined rear and front brake is located on the left side of the handlebars and the front brake is located on the right side of the handlebars.
Driving modes
Use the 1,2,3 button to change the driving mode. There are 3 different power modes to choose from when driving, although Sport mode is not designed for constant driving.
Never ride beyond your comfort level and always ride according to your personal riding abilities. We recommend
New riders always recommend starting with the first mode to get used to the bike and the differences between an electric and a combustion engine.
Power mode 1 - Eco (5 kW)
This mode is always recommended when you are riding a Bonfire for the first time and if you want to quickly charge and continue riding several times.
This mode guarantees that you achieve the maximum range while protecting the battery and motor, so that when recharging, the full power (2 kW) can also be used.
This mode has a limited top speed of 80 km/h and smooth acceleration.
Power mode 2 - Normal (8 kW)
With a top speed of 100 km/h and good acceleration, this mode is ideal for journeys where full charging power is not absolutely necessary.
This also protects the motor and battery, but you may not be able to charge at maximum charging power.
Power mode 3 - Sport (8 / 15 kW)
There are no performance restrictions here. However, this mode is not intended to be used permanently. This mode should be used primarily for overtaking maneuvers or for short distances.
Since peak power is permanently available here, the battery quickly gets hot.
The maximum speed of the performance variant is 115 km/h.
regenerative braking
When the throttle is released, your Bonfire will start regenerative braking. This allows the Bonfire to stop without using the brakes and recharges the battery.
If you release the throttle slowly, the recuperation is weak and if you release the throttle quickly, the recuperation is stronger.
Important :
Regenerative braking can be unreliable, especially with a full battery charge, so always use the regenerative braking feature with caution.
Side stand
The side stand folds up automatically, but this can be changed. By adjusting the stand spring, it is possible that the stand will no longer fold up on its own. However, please note that the stand is no longer compliant and the stand spring must be adjusted again at the next general inspection at the latest.
battery circuit
If the batteries have different charging voltages, one battery will be discharged first because the batteries are discharged at the same time. This can cause your vehicle to switch off at a charge level of just 40%.
IMPORTANT: Make sure your batteries always have the same charge level when you insert them.
Charging via the external 2 kW charger
If you charge the batteries primarily via the external 2 kW charger in the built-in state, you should remove the batteries every 10 trips and charge them separately to 100% until the charger automatically switches off the charge. This ensures that both batteries are regularly balanced and the charge level remains identical.
display
On the display you can read the SOC (state of charge), your driving mode, speed, odometer and time. Check out our "Battery 101" chapter for more information on reading the display.
operating the display
The bottom left button is the select button and the top left button is the adjust button.
Set time
Please note that the time will stop as soon as you remove your batteries or turn the batteries off completely. If you just turn off your Bonfire using the remote key, the time will continue.
With the motorcycle off, press and hold the setting button and then switch on the Bonfire. The display will turn on and the
Minutes will begin to flash. Release the Adjust button, then press and release to increase the minutes by one. To select the hours, click the Select button. Then press the Adjust button to make changes to the hours. When you are finished, click the Select button again and the dashboard will return to normal operation.
IMPORTANT : As soon as you turn off or unplug the batteries, the time will reset to 10 o'clock.
clear odometer
With the display on, simply press and hold the settings button for 3 seconds. This will clear the trip odometer.
check engine light
The engine control light (orange LED) should light up for 2 seconds when the vehicle starts and then go out again if there are no errors in the electrical drive train.
Please note that after an error occurs, the engine control light will remain on for at least three more trips and will only go out again after that.
The following problems cause the check engine light to come on: low voltage, engine overheating, controller overheating or an error in the electric throttle.
Controller App
There is also a free controller app for your controller in the App Store and as APK software for Android smartphones.
To connect to the controller, you need a Bluetooth dongle, which you can order here .
With this Bluetooth dongle you can log into the controller and make the following changes to the drive train:
- adjustment of recuperation (energy recovery)
- adjustment of peak power
- adjustment of the continuous power
- torque adjustment
- Adjusting the maximum speed
- Adjusting the throttle sensitivity
- Adjustment of driving modes (Eco, Normal & Sport)
- Overview of power, controller temperature and motor temperature
How the app works and how to navigate it is explained in detail in this video:
emergency operation
You can recognize emergency operation by the fact that the engine control light comes on and the vehicle drives significantly slower, i.e. with reduced torque.
battery undervoltage
If the voltage is outside the normal range of the battery, for example if the battery is empty, the power is limited to avoid damaging the battery.
overheating of the controller
If the controller gets too hot, performance will gradually be reduced. It is best to take a short break so that the
Controller can cool down.
overheating of the engine
If the engine gets too hot, performance will gradually be reduced. It is best to take a short break to allow the engine to cool down.
battery overtemperature and battery undertemperature
The battery cannot tolerate extremely hot or cold temperatures. To avoid damage to the battery, it is recommended to leave the bike indoors when the outside temperature is below 2°C or above 35°C.
Regular inspection and maintenance
Before and after every ride
The condition of the vehicle is the responsibility of the owner, i.e. you. Check your Bonfire before every trip to avoid dangerous situations and accidents caused by the vehicle.
The safety of your Bonfire depends on proper maintenance, regular inspection, adjustment and lubrication. You will find the relevant maintenance work and intervals in the following chapters.
maintenance intervals
Before every trip
- Check the angle of your mirrors
- Check that the battery is connected correctly when removing the batteries
- Check that the lights and indicators are working properly
- Check if the horn is working properly
- Check if the tail and brake lights are working
- Check tire pressure
After 10 hours of driving
- Check the torque of the fork, axle, handlebar and suspension
- Check the tires for damage
- Check the rim for damage
- Check the spoke tension
- Check the brake discs
After 20 hours of driving
- Check brake pads
- Check the screws on the brake discs
- Check the footrests
Every 6 months
- Check brake fluid
- Check brake hoses for damage
- Check front wheel bearings
- Check steering head bearings and tighten if necessary
- Check battery connector
- Check the frame for damage
- Clean the vehicle
Wheels and tires
Your rear wheel should have a pressure of at least 2.6 bar and the front wheel should have at least 2.4 bar.
Check your spokes regularly. You need to make sure that there are no loose spokes in the wheel.
- Check that the tires are inflated to the correct pressure.
- Check that the tire tread is at least 3 mm deep.
- Check for bent spokes
- Check that all spokes have the correct tension.
- Check that the brake discs are straight.
- Check that the front wheel axle is properly tightened.
- Check that the rear axle is properly tightened.
- Check that the rear wheel axle is correctly adjusted.
Brakes
Inspect the front and rear brake calipers to make sure they or the brake mounts are not damaged.
Check the front and rear brake pads to make sure they are not worn. Look through the window into the brake fluid reservoir to see if there is enough brake fluid left.
Do a brake test to check that the front and rear brakes are working properly.
Charging & Removing the Battery
Removing the battery
- Make sure the motorcycle is stable before removing the battery.
- Open the right side door by pressing the door lightly against the seal and turning the lock 90° to the right
- Please turn off the batteries. You will find the on/off switch on top of the battery.
- Now disconnect the battery from the motorcycle.
- Use the battery handle to remove it from the motorcycle.
Important : Always be careful when handling the battery. If it is dropped, visually inspect it and contact a Black Tea Motorbikes employee if it is damaged.
Charge
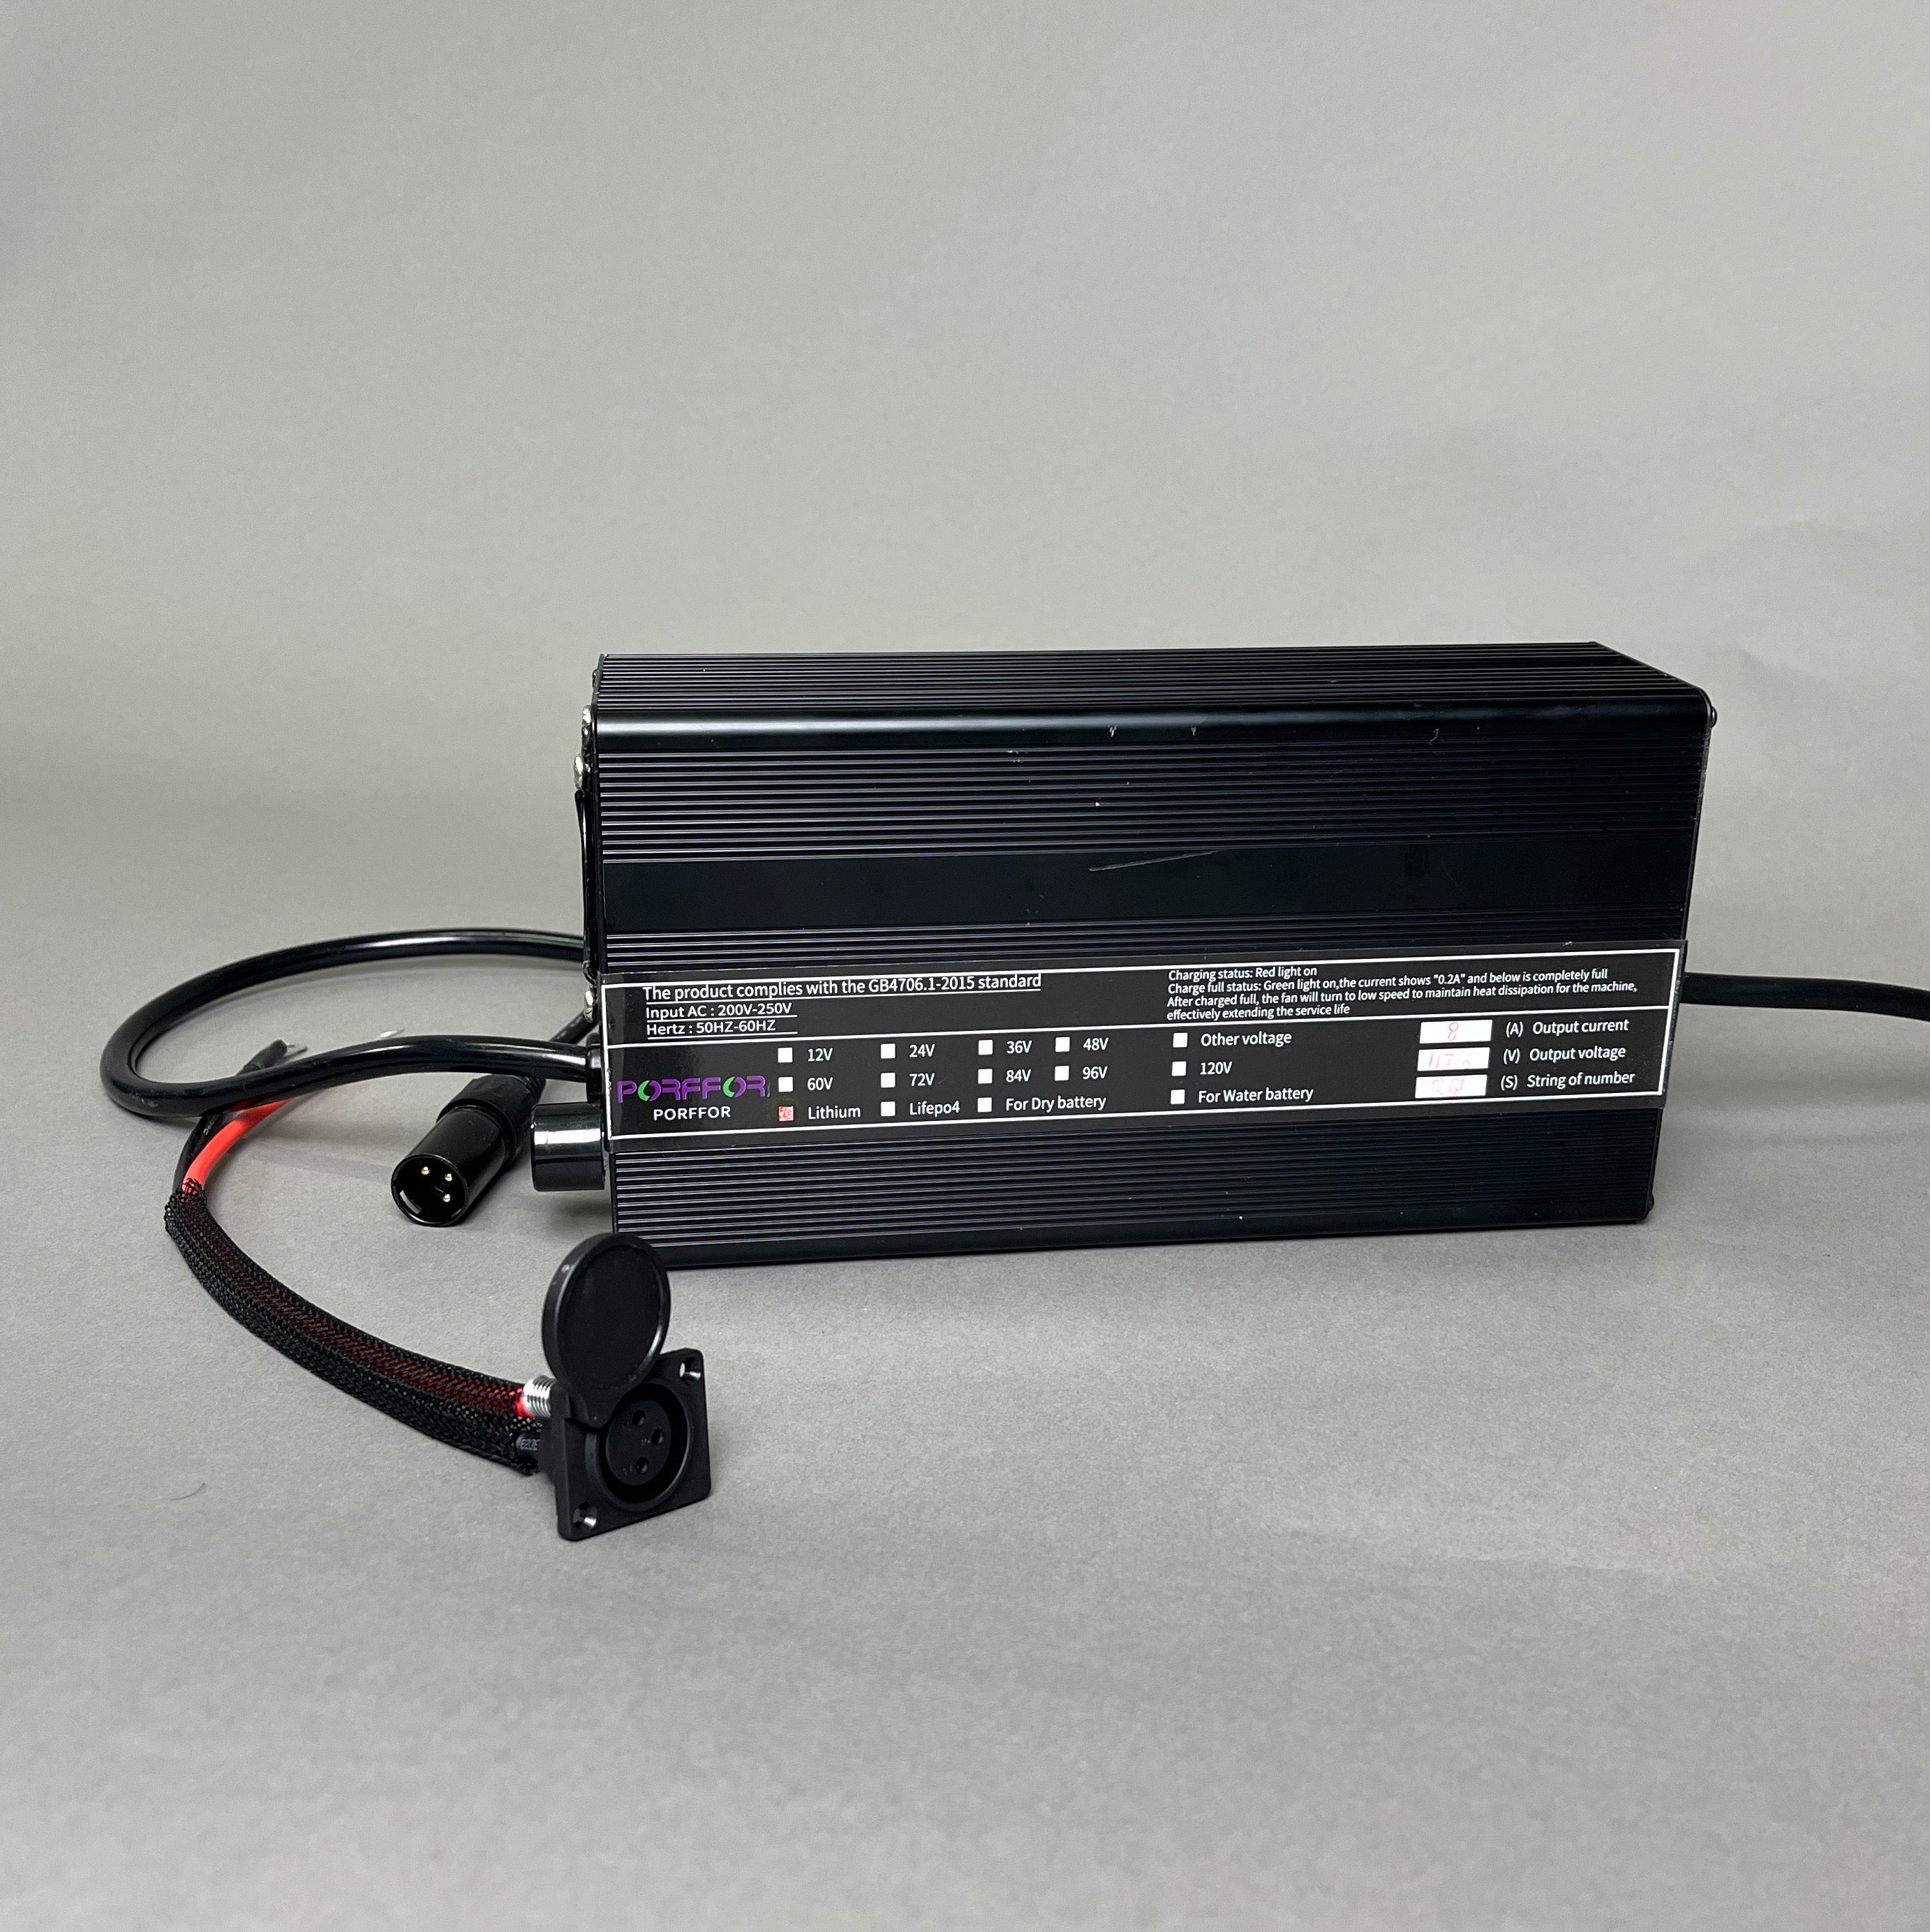
Plug the charger into the wall outlet and then connect the battery. You should be able to hear the charger while it is charging. The charger light will change from green to red once the battery is connected. When the battery is fully charged, the light will turn green. The battery should always be on when charging.
Reinserting the battery
- Make sure the battery is turned off
- Now put the battery back into the motorcycle
- Connect them
- Turn on the battery
- Close the door and lock the lock
Important : Make sure the plugs are connected correctly, otherwise the cables and plugs may be damaged.
Battery 101
Understanding your display
The LCD display on your screen makes it easy to see how much battery power (charge voltage) you have at any given time. Below you will find more information about these display values.
- 100 % = 117 V
- 80 % = 108 V
- 60 % = 102 V
- 40 % = 100 V
- 20 % = 95 V
- 0 % = 86 V
NOTE: The display's internal voltage reading is not 100% accurate, meaning your display will show the actual voltage with an accuracy of ± 0.4 volts.
The table above shows you the resting voltage and the corresponding charge level of your motorcycle. Resting voltage means that your vehicle is on but not running.
Your LCD display will show a visual representation of the battery level in the bottom right corner in roughly 10% increments. Use this as an indicator to know roughly how much power you have left . When the battery is almost completely drained, the last bar will start flashing, warning you to charge the battery as soon as possible. However, a better indicator is the voltage display or the Smart BMS app.
Your LCD display shows the current real-time battery voltage in the top right corner of the screen. This is the best indicator of the battery's state of charge (SOC). Battery voltage changes as you drive depending on the battery's energy demand and the energy input from regenerative braking. At lower levels of charge, the ECU limits power output to prevent damage to the battery.
To further protect the battery, stop driving at 87 V at the latest so that you do not completely discharge the battery.
range & lifespan
Your motorcycle has an expected range of 50 to 95 km per battery, depending on the riding mode, terrain, tire pressure, tire type and rider size/weight. All of these factors affect your overall range. For example, you can increase the range by always using regenerative braking.
For the Bonfire you can expect the following ranges:
- City driving up to 60 km/h = 95 km
- rural-urban mix up to 80 km/h = 80 km
- country road up to 90 km/h = 65 km
- highway at 100 km/h = 50 km
battery life
The service life depends on
various factors such as the age of the battery, the frequency of discharge/charge cycles, temperatures and general storage methods.
On average, most drivers can enjoy 5 years of fantastic driving adventures with their battery, or about 800 full discharge/charge cycles before the battery capacity drops below 80%.
The battery can of course still be used, but the range will be reduced accordingly.
Good to know
Voltage-Sag
Familiarize yourself with the amount of voltage sag. Voltage sag is basically the drop in voltage caused by acceleration. On cold days, the voltage drop at full throttle is usually up to 12 volts, and on warmer days up to 8 volts. Each mode limits the amount of voltage drop. ECO has the least sag, while SPORT has the most voltage drop.
NOTE : Due to the "voltage sag", your 10% bar display will show a lower SOC than the vehicle's SOC. Therefore, we recommend reading the volt display when the vehicle is idle (for example while waiting at a traffic light) and using the table in the "Understanding the display" chapter to derive the true SOC or simply read the exact percentage charge level in the "BMS Smart App".
battery shutdown
If the battery voltage drops below 85 V, your bike will shut down. This happens because the BMS is programmed to protect the batteries from damage caused by undervoltage.
Depending on the weather conditions, driving behavior and cell balance, your Bonfire may switch off earlier. To avoid this, here are a few tips:
Low battery charge levels
Your Bonfire battery does not discharge in a straight, constant line, but rather it is more of a curve where the upper part of the charge above 85% (108V) and the part below 15% (94V) discharges faster.
If your battery is well balanced, it will shut down at 85 V. If the battery is unbalanced, it may shut down as low as 88 V, depending on the degree of voltage differences between the individual cells.
Charge
A simple equation can quickly calculate how long a particular charger will take to charge a particular battery from fully discharged to fully charged. Here is the basic equation:
Battery ampere hours (Ah) / charger ampere (A) = time (h)
For example, for a standard 40Ah battery charged with the 20A charger, the total charge time is 2 hours. Although the equation gives a good indication of how long it may take, the actual charge time will depend on various factors related to your battery, such as battery age, SoC, internal and ambient temperature.
Best practices for charging
In cold temperatures below 10 ° C, the charging power is limited for the safety of the battery, but as the battery heats up during charging or driving, the power is gradually increased. Here is an overview of the limitation of the charging power in amps in cold temperatures:
- Below 0 °C = 1 A
- Below 5 °C = 10 A
- Below 10 °C = 15 A
- From 15 °C = 18 A (full power)
In rare cases, the battery may heat up considerably during charging, which can limit the charging power as soon as the battery temperature exceeds 45 °C. Your charging power will then be limited as follows at the following temperatures:
- from 45 °C = 15 A
- from 55 °C = 10 A
- from 60 ° C = charging stop
The battery is a flammable lithium ion battery and should not be stored or charged near a heat source or open flame. For further safety precautions, see the "Charger Maintenance" chapter.
Follow these instructions to charge the battery:
- Place the charger on an open (uncovered), flat, cool, dry and safe surface so that it will not be disturbed or heated while the battery is charging.
- Leave the battery on while charging.
- Plug the charger's input plug into a suitable power outlet. The indicator light on the charger should be GREEN when nothing is plugged in.
- Connect the charging cable to the battery. After the battery is connected, the charging indicator will change from GREEN to RED to indicate that the battery is charging. When the battery is fully charged, the light will change to GREEN.
- Make sure you are present during the charging process.
- If the indicator light does not light up, the charger's replaceable fuse may have blown and needs to be replaced. Replacement fuses are included with the charger. The fuses are easy to replace without removing the charger's case/cover!
balancing
The Bonfire batteries are automatically balanced when you charge them to 100% until the charging process automatically stops.
Battery balancing serves the purpose of equalizing the voltage between all the individual battery cells within a battery. When a battery is balanced, 100% of its capacity is available, while an unbalanced battery will deliver less than 100% of its capacity and cause premature battery discharge. Battery balancing is a slow process and is accomplished at low milliamp levels.
We therefore recommend that you regularly charge the batteries to 100% to ensure that the battery is always balanced.
The batteries charge and discharge each other if they have different charge levels and both are connected in the vehicle.
battery maintenance
A big advantage of lithium ion batteries is that they have little to no "memory effect". This means you can charge your battery after every ride, regardless of its charge level, without affecting its long-term health. Each battery has a built-in BMS that monitors the condition of the cells, and the optimized chargers will automatically shut off when the battery is fully charged. Below are some additional tips, advice and hints for charging your battery to keep in mind:
- COOL DOWN - After riding your motorcycle, you should not charge the battery yet. It is better to give your battery a cool down period of about 1 hour AFTER the ride before charging it, and after charging let it rest for about 1 hour before the next ride.
- Although it's not always practical, for longevity it's best to charge the battery to 80% and discharge it to 20%. You can of course charge it to 100%.
- Remember that the maximum charging voltage is 117 volts ± 2%. Your battery may be a little more or a little less fully charged. This is normal, so don't worry if it's not exactly 100%. Also note that the bike draws some voltage (up to 1 volt) when it's turned on.
- Try not to leave the battery on the charger at 100% longer than necessary.
- Only use a Black Tea Motorbikes charger. Using aftermarket chargers may damage your battery and will void your warranty.
- To prolong battery life, avoid exposing batteries to extreme temperatures.
- To extend the life of your battery, avoid completely discharging it to 0%.
- Black Tea Motorbikes chargers charge quickly up to 80% and then slow down. This is normal and good for your battery, so the last 20% will take longer.
- Avoid damaging the connector and keep it free of dirt. If it is dirty, clean it gently with compressed air or a soft nylon brush if you have one.
- DO NOT charge or use a damaged battery.
- DO NOT drop the battery.
- DO NOT disassemble the battery.
- DO NOT immerse the battery in water or allow it to get wet.
- DO NOT short the positive (red) and negative (black) terminals of the plug.
- DO NOT attempt to charge your battery if it is frozen. This may cause permanent damage. Allow your battery to rest in a room and warm to room temperature before charging.
temperature and storage
temperature
- Try to keep the battery above 10°C and below 55°C to avoid performance issues. If the battery is colder than 5°C, there will be a greater drop in voltage, which will be noticeable as a lack of performance.
- Never allow the battery to fully discharge for long periods of time in cold weather. Always maintain a charge level of at least 30-50%.
- Never charge the battery when the battery itself is below 0°C.
- Never try to warm up a frozen battery quickly. Allow the battery to reach the correct temperature (above 5°C) slowly or by driving.
- If you drive in the cold, the range can be reduced by up to 20%.
- Cold riding can also cause premature voltage cutoff, meaning your bike could shut off sooner than expected.
- If you're driving with a cold battery, give your Bonfire 10 minutes to warm up. After 10 minutes, the entire electric drivetrain (battery, ECU and motor) should have reached a higher temperature where it will operate more efficiently, so try to keep acceleration low for the first 10 minutes.
- Lithium-ion batteries work well at higher temperatures up to 55 °C, but prolonged exposure to heat reduces longevity.
- Do not charge the battery if the temperature is above 55° C.
- If possible, do not charge the battery immediately after riding as the cells may be hot.
- If possible, do not charge the battery in direct sunlight when the ambient temperature is above 30°C.) Charge the battery in a cool place, protected from direct sunlight.
Long-term battery storage
For seasonal drivers, there are a few ways you can best protect your battery:
- Do not store the battery fully charged. Store it at 40-50% charge.
- Store your battery in a dry place at room temperature.
- If you store the battery IN your motorcycle, you can disconnect the battery from the controller by unplugging the connector.
- To keep the battery charged, do not leave the battery and charger connected together and plugged into the power outlet.
- If you do not charge and store the battery properly, it may stop working and will no longer be covered by the warranty.
charger maintenance
Battery chargers typically require little to no maintenance, but below are some basic tips on how to care for your charger to ensure optimal function and lifespan.
- Do not throw your charger around or store it haphazardly.
- Always keep water and other liquids away from the charger.
- Leave the fan uncovered to allow the charger to cool itself down.
- Wipe the charger case regularly with a soft cloth to remove dirt and debris.
- Store the battery charger in a safe place indoors.
- Always have a spare fuse for the battery charger on hand in case the fuse blows.
ownership and operation
maintenance and cleaning
It is important to keep your bonfire in good condition to prolong its lifespan.
Clean the bike after riding and follow the "Regular Inspection" checklist.
You must always be careful when cleaning the Bonfire. The electrical components of the bike can be damaged if not cleaned properly.
Make sure the motorcycle is stationary and turned off before washing.
Never use a high-pressure cleaner or a water hose to clean the motorcycle. It is recommended to use water together with a cloth and a brush.
Important : The vehicle owner is responsible for the maintenance and condition of his vehicle
storage
We recommend that you ride the motorcycle at least once a month, as some components of the motorcycle need to be used to keep them in the best condition.
Store the bike in a well-ventilated room (no high humidity) and protect it from sunlight to avoid unnecessary aging or discoloration.
Never store your Bonfire with a dead battery. If the bike is stored for an extended period of time, charge it to at least 50% to prolong battery life.
Never charge your Bonfire below 0°C. If you cannot charge the motorcycle at higher temperatures, ride your motorcycle first so that the battery temperature rises above 0°C
Important : Store the bonfire in a well-ventilated area with dry air. High humidity can lead to rust damage.
alarm system
You have the option of using the alarm system if you leave the batteries in the vehicle. In this case, press the alarm switch once (top left). If someone moves your vehicle, the alarm system will go off and block the rear wheel. To turn off the alarm system, press the off switch once (top right).
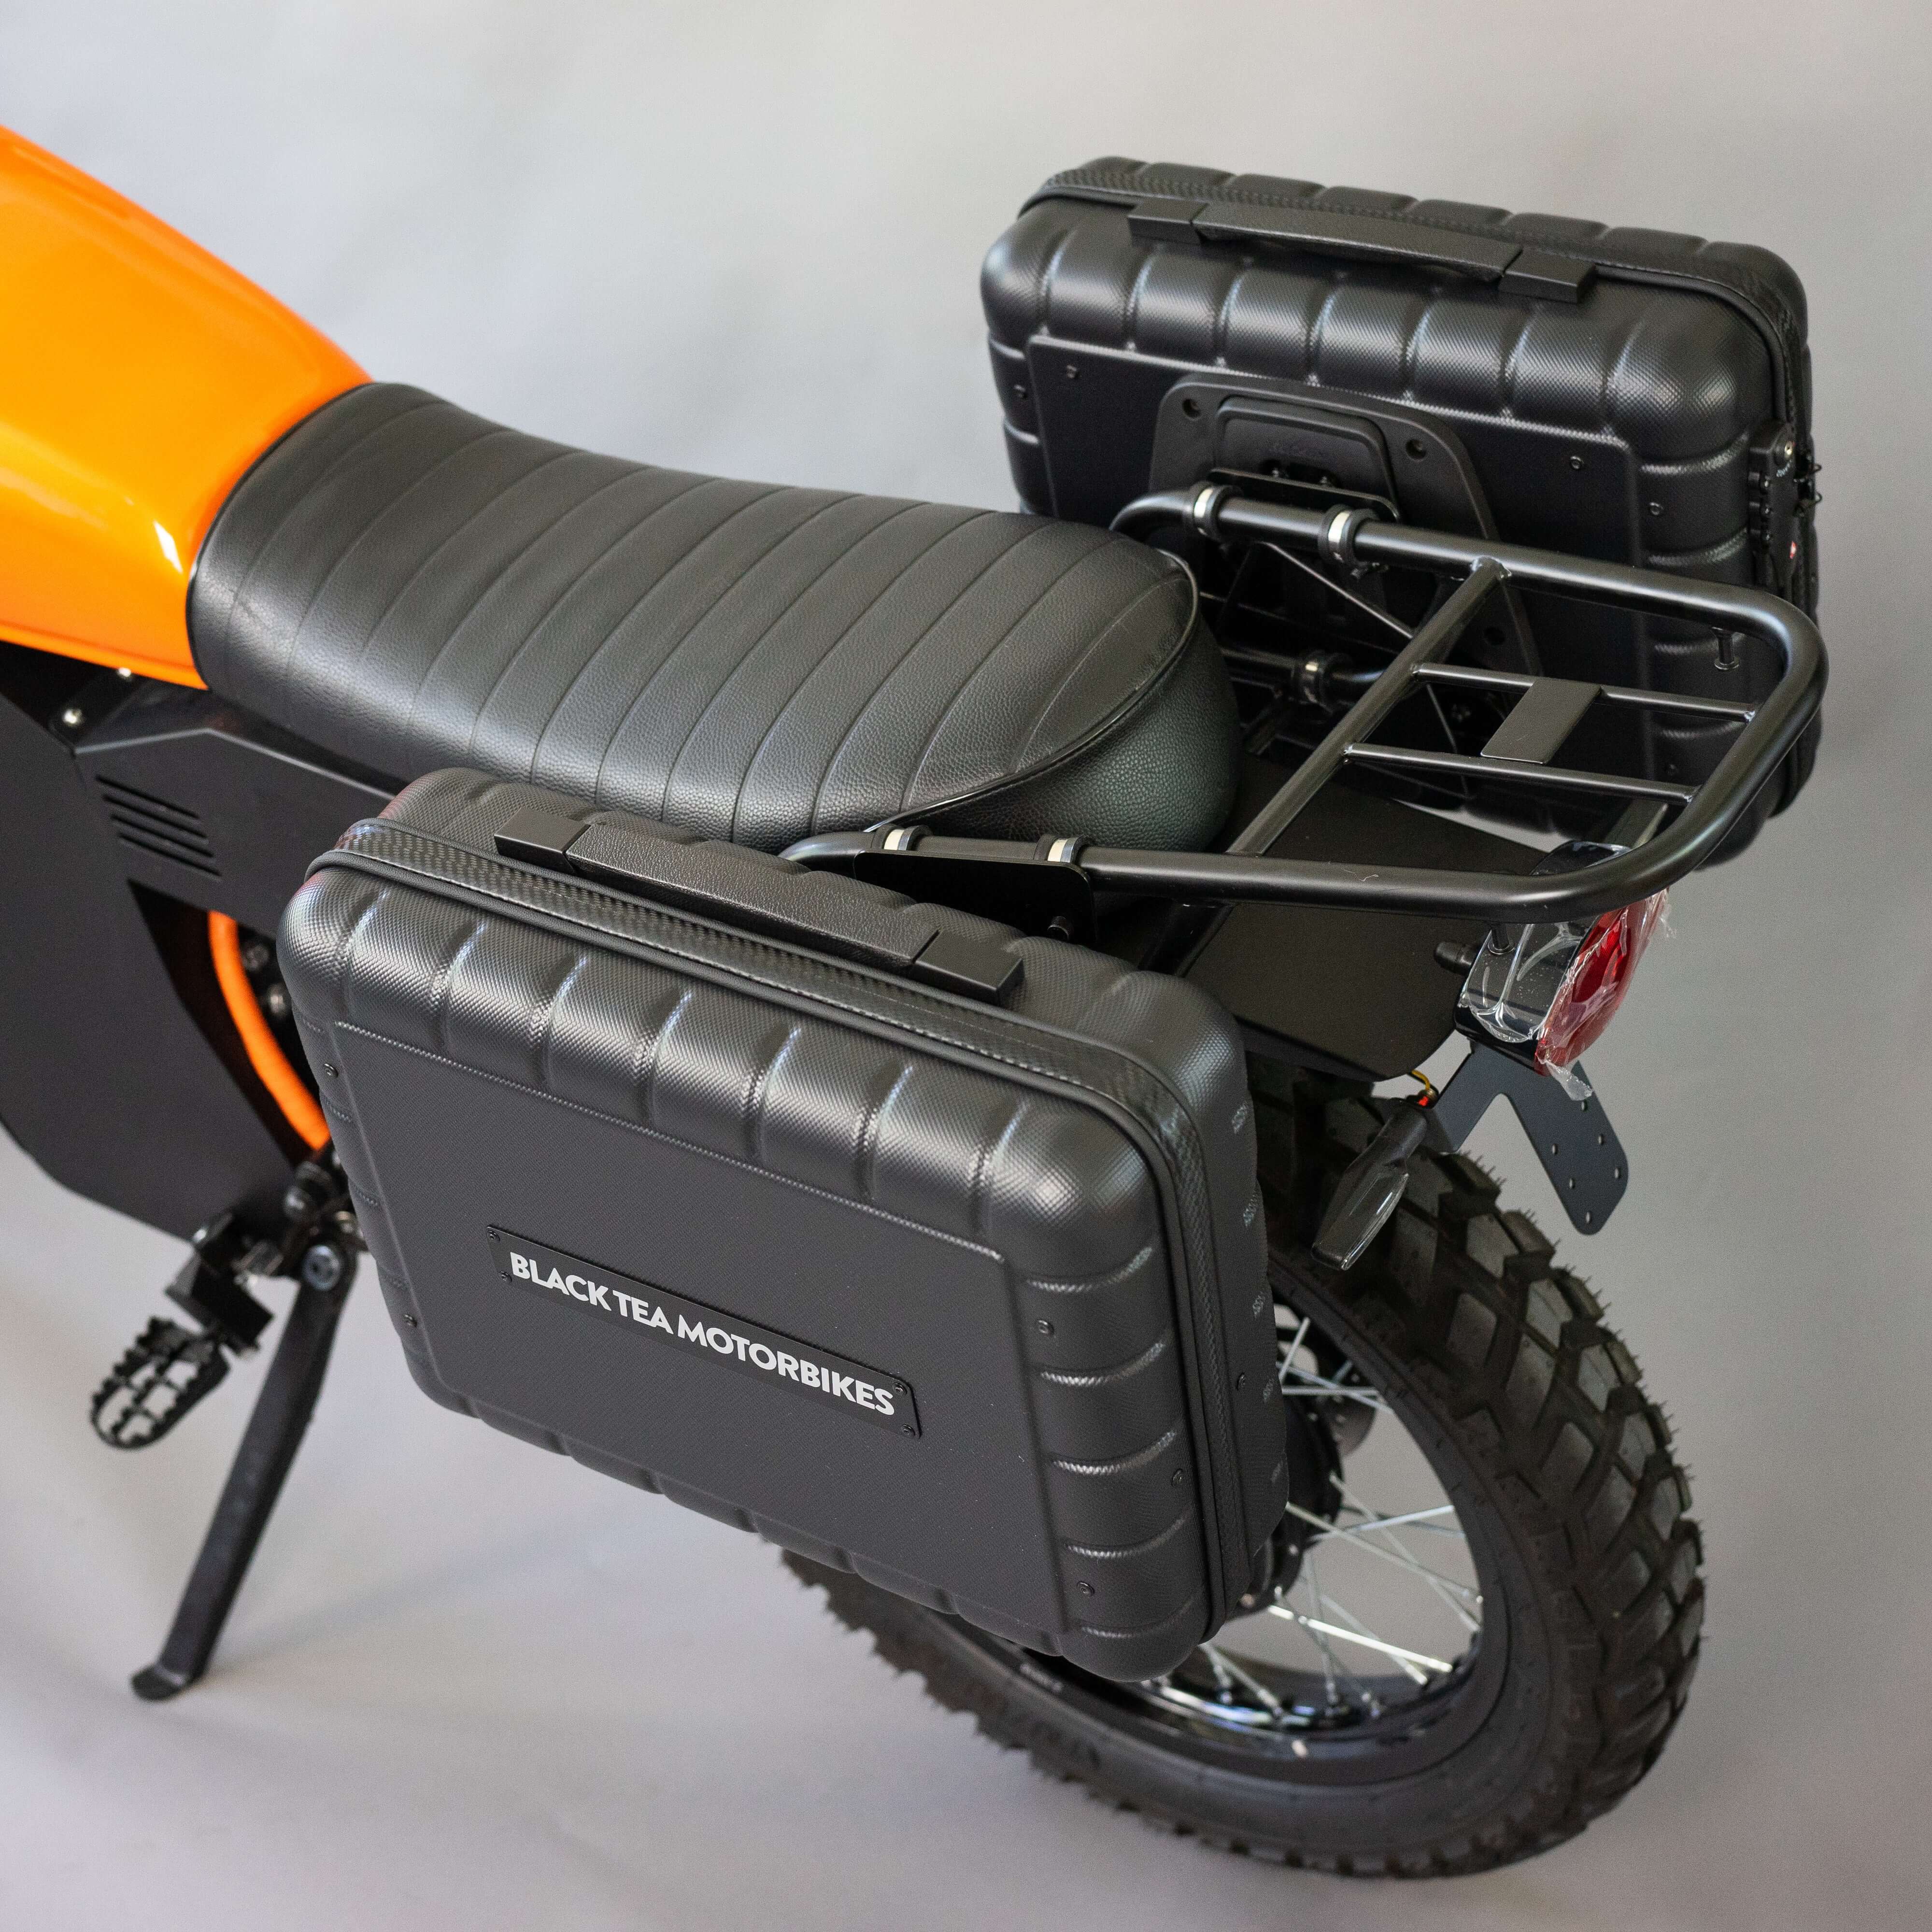
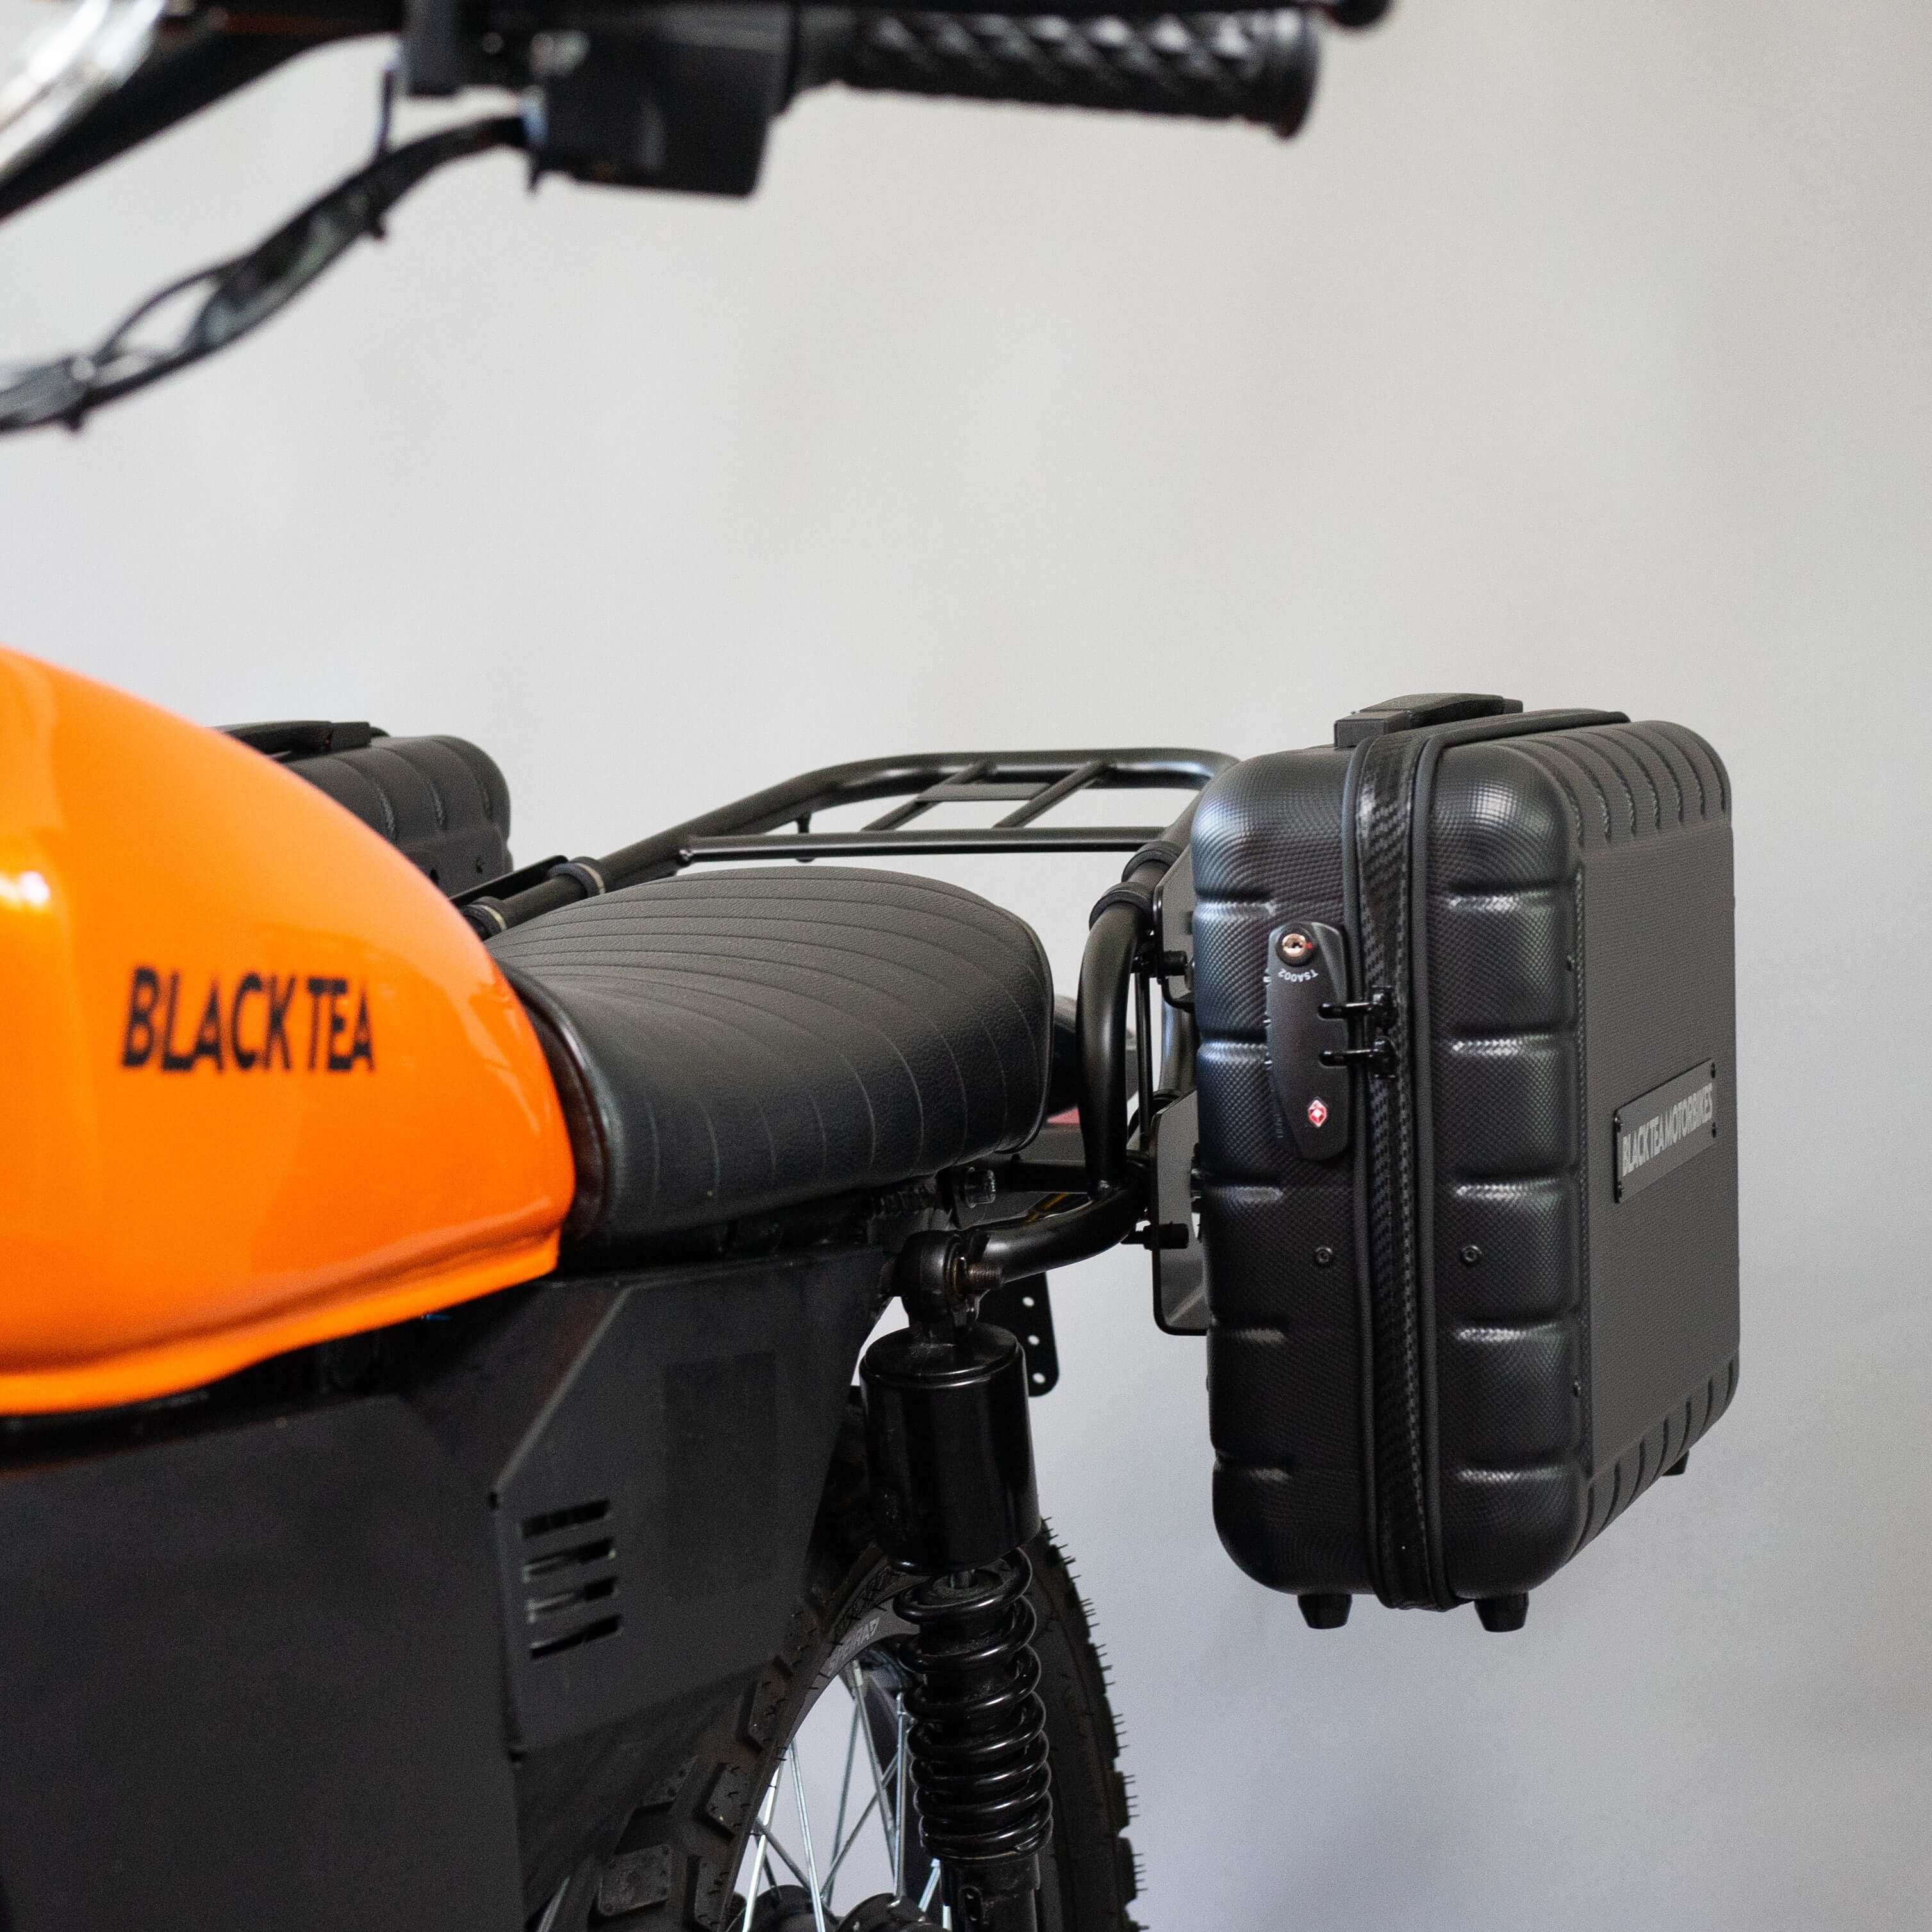
It is advisable to use an additional external lock, which is recommended for motorcycles. You can carry the lock in the luggage compartment.
Accident
In the event of a Bonfire, please inspect your Bonfire for cosmetic or structural damage. If you notice any damage that affects the vehicle's handling, stop riding to avoid further damage to the vehicle, yourself or the surrounding area.
If your Bonfire needs repair, please contact us at service@blackteamotorbikes.com .
To check, please follow the procedures in the "Periodic Inspection and Maintenance" chapter. In case of a broken or damaged part, visit www.blackteamotorbikes.com to order replacement parts. If you cannot find what you need or have any questions, please contact Black Tea Motorbikes directly.
inspection intervals
The first inspection must be carried out after 2,000 km or within the first year.
After that, the service must be repeated every 5,000 km.
information about the inspection
Every vehicle needs maintenance, but due to the lack of oil, filters, chains, sprockets and other wear parts, our motorcycles require far less maintenance.
However, the brakes and tires wear out and sometimes old parts are replaced with new ones to improve performance. The maintenance check usually consists of:
- Checking and adjusting the brakes
- Changing the brake fluid
- software update
- Checking nuts and bolts
- Inspection of spokes and wheels
- lubrication of rotating parts
- If you wish, we can also replace the tires (this would cost extra)
Warranty & Inspection
Don't worry, your warranty will not be void if you fail to follow the service schedule.
However, if something breaks, we cannot guarantee that we will be able to repair your motorcycle free of charge as we need to determine whether this problem could have been avoided by following our service plan.
Here are some examples for you:
- A year has passed and you have not performed any maintenance on your Bonfire. Now your spokes have broken. In this case, we cannot repair your Bonfire for free as the spokes are checked and tightened during maintenance, so this problem could be covered by our service plan.
- A year has passed and you have serviced your Bonfire. Suddenly your brakes are not working properly. In this case, we will repair your Bonfire free of charge because you have followed our service plan.
- A year has passed and you have not performed any service on your Bonfire. Suddenly your DCDC converter stops working. In this case we will repair your Bonfire for free because the DCDC converter is not usually checked during maintenance and if you are still within the 2-year warranty period, replacing the DCDC converter is always free of charge.
Troubleshooting & Complaints
error codes
Your Bonfire beeps when there is a problem with the drivetrain. The number of beeps indicates the error:
- Hall sensors from the engine damaged or not connected
- Throttle grip damaged, not connected or signal not plausible
- drivetrain protection error
- Too high phase current
- overvoltage or undervoltage
- Vehicle was switched on incorrectly
- engine overheats
- Controller overheats
- Too high battery current
- Internal Controller Error
- short circuit of the phases
- Internal Controller Alarm
- High side of the MOSFETs damaged
- Low side of the MOSFETs damaged
- Hardware too high current

